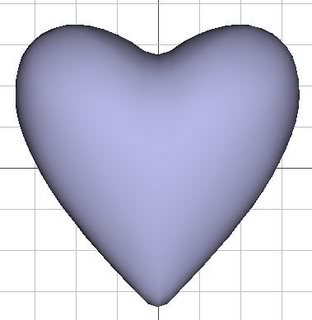
Here's the steps to creating a 3D heart in AoI. If you've been following my other AoI tutorials, this one will be a snap to create! No new tools here, just real quick and easy! Here's a screenshot of the final output.....
 Step 1
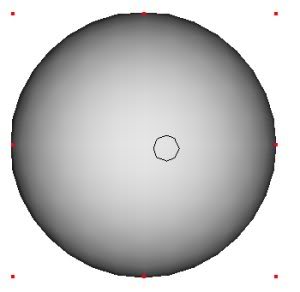
Open AoI and select the Create Sphere Button

Now, in any of the view windows, hold down the Shift Key on the keyboard, click on the left mouse button, and drag out a sphere. Holding down the Shift key will make the sphere perfectly round....
 Step 2
Right click on the Sphere Name in the Object List and choose Convert to Triangle Mesh....
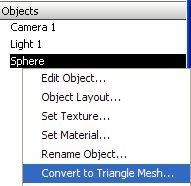
and change the settings as follows...
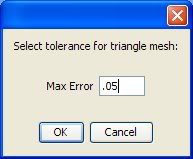
By making the Mesh Tolerance Settings a .05, we add more vertices, edges, faces to the model.
Next, double-click on the Sphere Name to open the Triangle Mesh Editor Window.
Step 3Choose the Move/Select Tool

and drag out a selection box to select all of the vertices in the very center of the sphere...
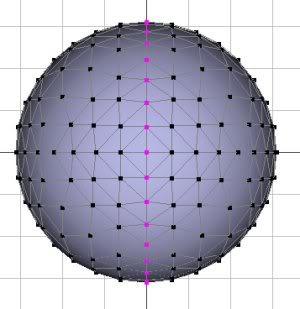
For this task, I like to turn
OFF the Freehand Selection option (Ctrl+F or go to Edit Menu > Freehand Selection and make sure the checkmark is OFF next to the Freehand Selection option). Because there is so much geometry on the sphere, leaving the Freehand Selection option ON would make it too easy to select things we don't want/need.
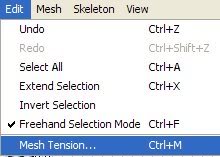
Step 4Now, go to Edit Menu > Mesh Tension... (or Ctrl+M) - disregard the fact the my Freehand Selection is turned ON in the screenshot below. This screenshot was used in another tutorial.

Set the Options as shown; however, feel free to experiment. Remember, the Maximum Distance is the numer of unselected vertices that will be affected by the various tools. The Tension option is how much the effect will take place.
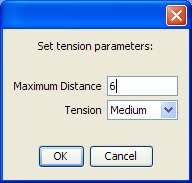
Choose OK to accept the changes.
Step 5Select the Universal Manipulator Tool

and you'll see the sphere now resembles this
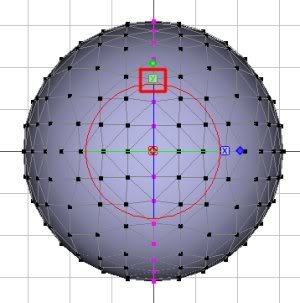
Click on the Little Green chiclet that has the Y in it and drag this box downward. Doing this will move the selected geometry along the Y-axis. Make your sphere look like so:
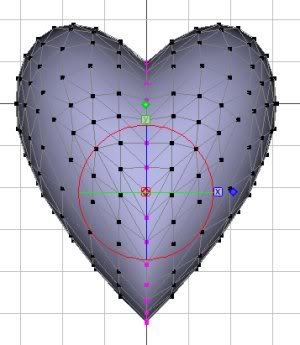
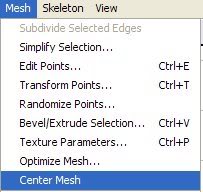
When you do this step, your entire model will shift down from its center position on the screen....this is a result of the Mesh Tension setting. To put the model back in the center of your screen, go to Mesh Menu > Center Mesh (this is an optional step, but a good option to know!)
While it looks like we're finished, we're not...here's why....
Step 6First choose all of the vertices by either dragging a box around the entire sphere with the Select/Move Tool or using the Ctrl+A keyboard shortcut....personally, I like the keyboard shortcut.
Next, let's look at the model from the side view....Click on "Left" in the View Dropdown Window...

and you should see something that resembles this....
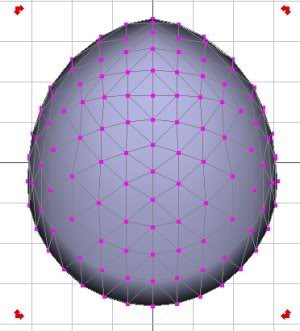
Doesn't look like a heart from this standpoint does it?

Let's solve that really quick....
Step 7Click on the Taper Tool button

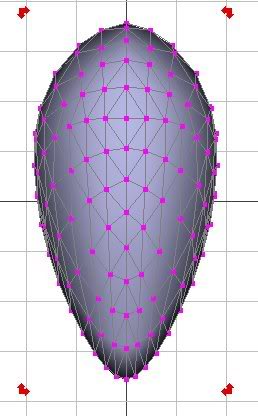
While holding down the Ctrl key on the keyboard, click and drag on one of the bottom double-headed arrows to Taper you selection like so (If you click on the left arrows, drag to the right....if you click on the right arrows, drag to the left)
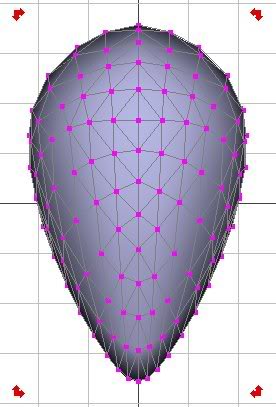
Next, do the same thing with the top arrows until your model resembles this....
 Step 8
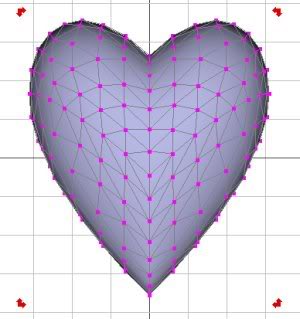
Now, set your view back to "Front"

and your model should look like this:
 Step 9
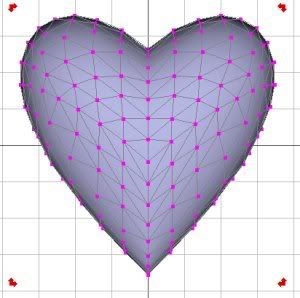
I like to do one more outward taper on the top to make the heart a little wider (remember to hold down the Ctrl key while doing this to make the taper move from the center)
 Step 10
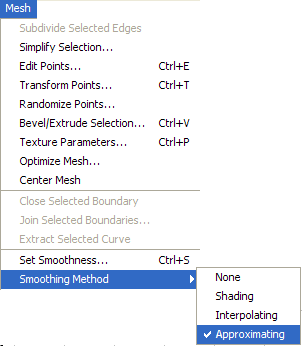
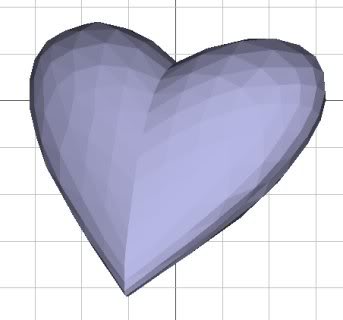
Now, go to Mesh Menu > Smoothing Method > Approximating to give the model a nice smooth appearance (If you want your model to appear like it's make of cut glass, set the Smoothing Method to None which will make the model appear faceted.)

Here's a facted version which was created by setting the Smoothing to None.
Now, choose the OK button at the bottom of the Triangle Mesh Editor window to go back to the main AoI window, where you can add textures/materials, and render away!
Simple, wasn't it?! Hope you learned some new things even though I didn't present any new tools in this tutorial. As always, C&C are welcome. Make sure you show me your results.
Art