Although most people that use GIMP are aware that you can create and edit paths within GIMP, many don't know that the paths can also be exported in SVG format for use in other programs, and in this case, AoI.
NOTE: The dome automatically resizes images over a certain size. Firefox users, right-click on the image and select View Image to see full-size version.In this tutorial, I'll briefly describe the steps in GIMP to completing that process. So, if you don't have GIMP, you can download it here:
GIMP Downloads Page. Additionally, and this should be obvious, you'll need AOI and the Import SVG Paths script, which is a separate download from the main AoI program. I'll be including some screenshots for downloading the Import SVG Paths script; however, Marcc has a great video tutorial on downloading scripts and plugins, which is very useful and may answer any questions I don't address. You can see that thread here:
How to Find and Install Extensions for AOIEssentially, there are 2 ways to create paths in GIMP: the Paths Tool

(how convenient!) and converting a selection to a path. In this tutorial, I will only discuss converting a selection to a path. Describing how to use the paths tool is much more involved and that I've already covered that topic here:
Creating and Using Paths Part IFor this tutorial, I will be using the DevilInside dingbat font as a template for creating the 2 types of paths: simple and complex.
Let's Begin.
Step 1 - Install Import SVG Paths scriptOpen up AoI and go to the Tools Menu > Scripts and Plugins Manager

In the Window that opens, click on the Install tab as shown below and the plugin manager will automatically connect to the repository and provide you with a list of the most up-to-date scripts and plugins. When the plugin manager completes its connection, click on the Scripts Folder and the Tools Folder to expand them. As you'll see in the screenshot below, AoI has determined that I have 2 tool scripts available for installation.
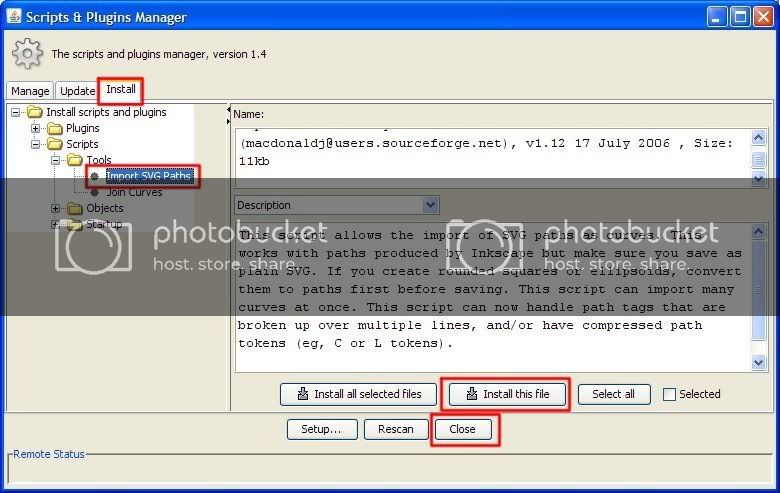
Highlight the Import SVG Paths as shown and then click on the Install this file button to install the script. Then select Close and restart AoI to make the script available.
Step 2 - Create Simple Paths in GIMPOpen GIMP and create a New Document (Ctrl+N) or Open an existing image from which you would like to create your selection/path (Ctrl+O)
Since, I will be using a font for this demonstration, I grab the text tool

and a cool dingbat font, DevilInside.
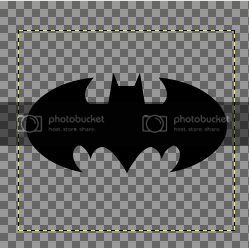
GIMP adds text to its own layer and leaves the area surrounding the text as transparent (Grey checkerboard). Because the area surrounding the text is transparent, creation of the path is a simple task.
Select your text layer and right-click with the mouse button and in the menu that appears, choose Alpha to Selection. This selects everything not transparent.
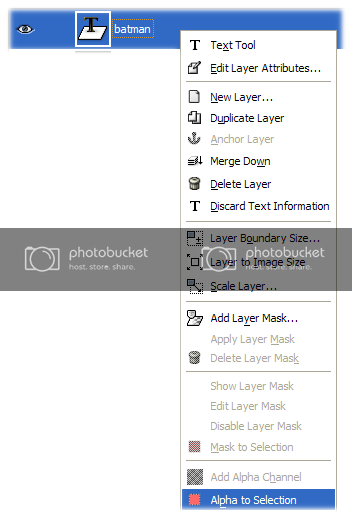
You could also use the Magic Wand tool, but this is faster and we'll explore the Magic Wand in the next example.
Next, convert this selection to a path by going to Select Menu > To Path or click on the Paths Dialog tab

and click the Selection to Path button

at the bottom of the window. A Path of the selection will now be available.
Step 3 - Convert Simple Paths to SVG PathsNext, in the paths dialog, right click on the new path and choose Export Path...
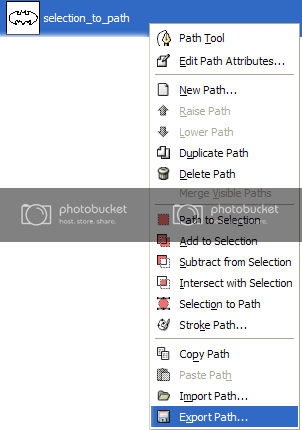
The following window will appear and you can specify the name and location where you want to save the path.
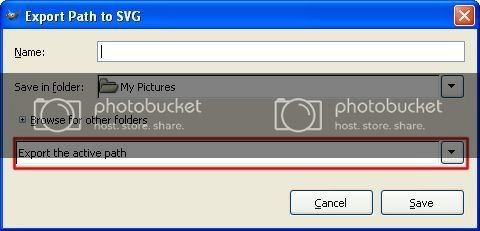 Step 4 - Create Complex Paths in GIMP
Before showing you how to import the paths we've made in AoI, I'll describe the process for creating complex paths (or paths with multiple components) from selections. For us to use them in AoI, we need to do something a little different from what was described in Steps 2 & 3 above.
Again, I'll use a symbol from the DevilInside dingbat font.
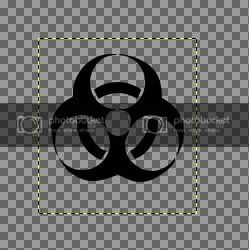
You'll note that this symbol has numerous parts to it and like I described above, we could easily create a selection around the whole thing using the Alpha to Selection step and then convert the selection to a
single path. Although this would work in GIMP, once we get into the world of AoI, it would not work. Here's how we'll fix that!
Using the Magic Wand tool...

, which is also known as the fuzzy select tool, we can click on the individual sections of the font to capture a selection, then convert that selection to a single path. You may have to experiment with the Magic Wand options to ensure it only selects what you want. To get to the Magic Wand Options, just double-click the Magic Wand Button and the Options Dialog will open. Here's the settings I used:
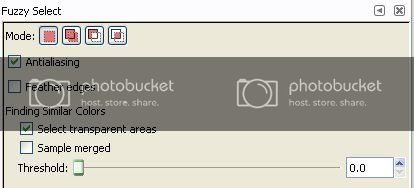
Additionally, feel free to experiment with any other of GIMP's selection tools:

As I said, once you've got an individual segment selected, convert the selection to a path by going to Select Menu > To Path or click on the Paths Dialog tab

and click the Selection to Path button

at the bottom of the window. A Path of the selection will now be available.
Click another desired area so that there's only one segment selected and convert that segment to a path. Continue with these steps until you are finished and have the number of segments desired.
Step 5 - Convert Complex Paths to a Single SVG PathWhen you are ready to convert all of these paths to a single usable SVG path for import into AoI, open the paths tab

, and you'll see all of your individual paths, like so:
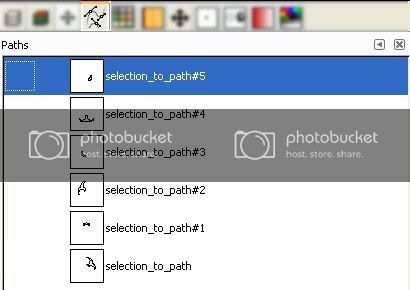
Highlight any one of the paths, right-click and choose Export Path. When the dialog appears, choose this option:
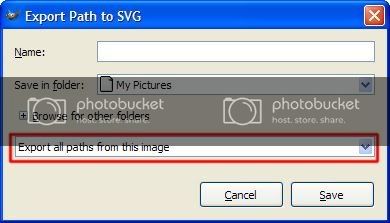
Specify a name and location where you want to save it.
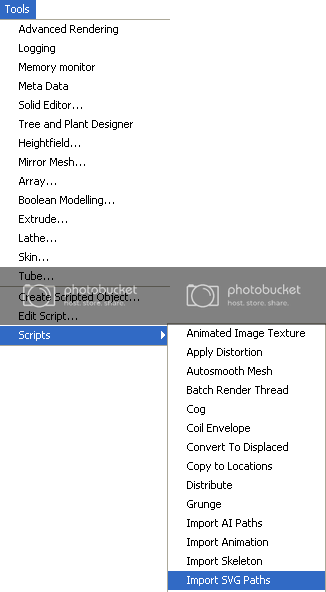
Step 6 - Import Paths in AoIOpen AoI, and go to the Tools Menu > Scripts > Import SVG Paths
Choose the parameters as desired:
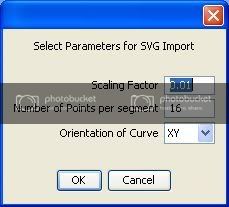
Then, tell AoI where to find the desired SVG path. Note: You can only bring in one path at a time.
However, a complex path is considered a single path...at least for the time being! 
AoI will be bring in the single, complex path as
individual curves. You can then join them together if you want by going to the Tools Menu > Scripts > Join Objects script. Or you can leave them as is and modify them individually as you wish.
Here are screenshots of the complex and simple paths, that have been extruded using the Tools Menu > Extrude... function.
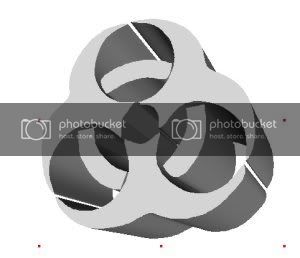

One final note: Some complex paths may require additional processing once brought into AoI in order for them to appear properly. A simple example would be any letter of the alphabet that has a 'hole' in it. The letters 'e', 'd', and 'o' (among several others) have an outside path and an inside path. Exporting the paths from GIMP uses the same methods described in Steps 4 and 5, but once inside AoI, you may need to use the Boolean tool to create the 'hole'.
Added Usage Tips (April 6, 2007)Figured out how to get some really cool applications with this method. Hope you'll be a-MAZE-d!
 Create a Maze in GIMP
Create a New Image (preferably square, but that's your call)
Go to Filters Menu > Render > Pattern > Maze....
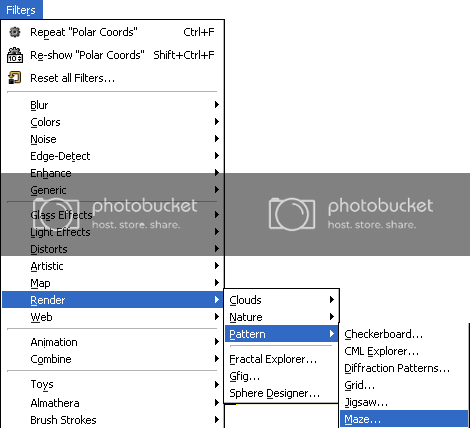
and experiment with the settings. This is my outcome:
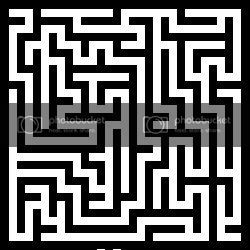
Now, grab your magic wand tool and click on the white area (or the black area!)

(Since this is only a 2 color image, you may even want to try out the Select Regions by Color tool. Hey, it's always cool to learn a new tool!)
With your selection made, convert/export the path and import the path into AoI using the steps described above.
Here's an extruded version of my maze....
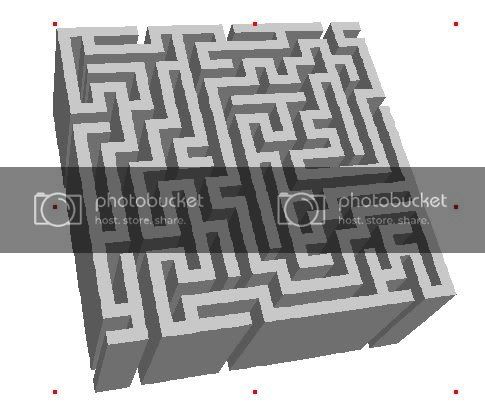 Let's take it one step further and bend our pixels a bit!
Create a new maze or deselect the one you used above...Select Menu > None (Ctrl+Shift+A)
Go to Filters Menu > Distorts > Polar Coords...
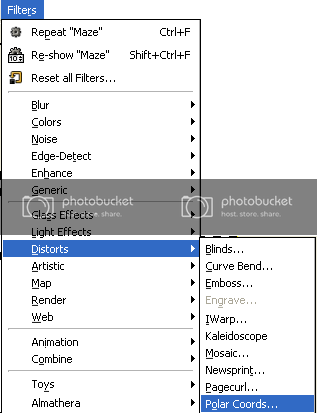
Experiment with the settings....I believe I just accepted the defaults.
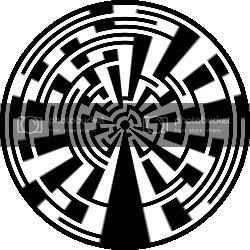
Add a Gaussian Blur to your image to soften the edges....
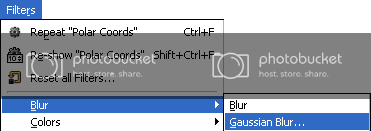
I just accepted the defaults...experiment as desired.
Double-click your magic wand tool and adjust your Threshold setting to taste....I used 64. This will allow us to select only portions of the white and the resulting path will be much smoother.
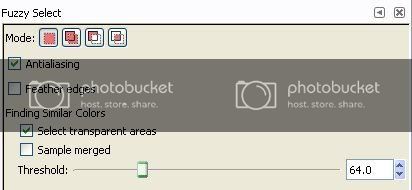
Click on the white portion with the magic wand tool to create a selection, convert/export the path, and import to AoI as described above.
Here's an extruded version....
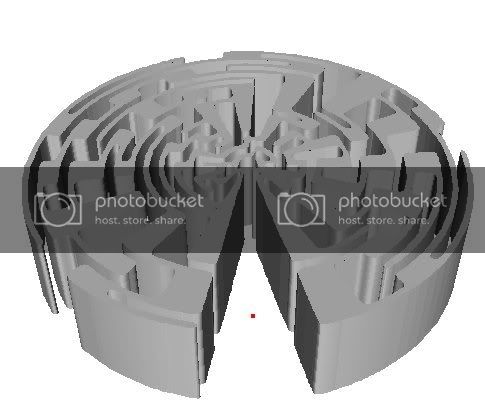
Pretty cool, eh!
You could also use the paint brush to create your shapes and convert the shapes to paths. This would be a really quick way to create floor plans. The possibilities are endless!
Well, I hope this tutorial has been beneficial. As always, questions and comments are welcome. Please let me know if you need additional information or clarification.
Cheers!
fencepost