This tutorial is dedicated to darth_gimp!
Hello, fellow GIMPers! In this lesson, I'm going to show you how to create a rotating animation with an animation inside of it, like
so:
The steps to create this are very easy and go by pretty quickly. In fact, you'll be able to create this animation in just a couple of minutes! Although simple, I hope you'll be able to add a few tools to your GIMP arsenal.
Before you start this tutorial, you'll need to have GAP (the GIMP Animation Package) installed on your machine. We're not going to use GAP in the fashion many of you may be accustomed to; however, GAP does add a very important filter which will be of big use in this tutorial, as well as your other graphics creations. This filter is called the Filter All Layers filter. You'll see how important it is in just a minute. If you need to download GAP, Windows users can get it here:
http://gimp-win.sourceforge.net/stable.html and Linux users can get it here:
http://gimp.org/downloads/. Sorry Mac users, there is no GAP for you. Windows users can just unzip the file and double-click the executable file to install. Linux users.....well, you'll know what to do. I haven't a clue.
Also, please download the two scripts I have attached below (See very bottom of tutorial for 'scripts.zip'.) If you've followed some of my other tutorials you may not need them; however, I suggest you make sure as they will make your life much easier. One is a script by saulgoode which allows you to set the timing and handling mode for all your layers at once. The other is by noclayto that sets all of the layers to fit the canvas size.
The scripts are nothing more than text files and they are ready to go. Just drag and drop them into to your GIMP/Scripts folder. Install only those that you need.
Next, start GIMP or, if GIMP was already open, go to the main GIMP window Xtns Menu > Script-FU> Refresh Scripts and, if you followed the instructions above, the scripts will be found here:
Layer Menu > Layer(s) to Image Size and Filters Menu > Animation > Settings...
If they are not there try again.
Some of the images in the tutorial have been resized by the board. Please right click on them and choose View Image to see the full-sized image.Step 1:Open up your animation. For this tutorial, I'm using this animated kaleidoscope I made:
Step 2:Convert your animation to RGB mode. Image Menu > Mode > RGB If you skip this step, you won't get very far as the Map Object filter (as well as many of GIMP's other filters) only work on images in RGB mode. Animations are made up of indexed colors, which are not the same as RGB (see this link for a good definition
Indexed Colors on Wikipedia!
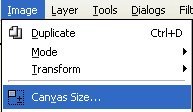
Step 3:Adjust your canvas size to allow for some space as the image rotates. Go to Image Menu > Canvas Size...

I'm using 125 X 125, but you use whatever you think you need.
Step 4:Now, go to Layer Menu > Layer(s) to Image Size to set all your layers to the new canvas size.
 Step 5:
Now, go to Filters Menu > Filter All Layers...
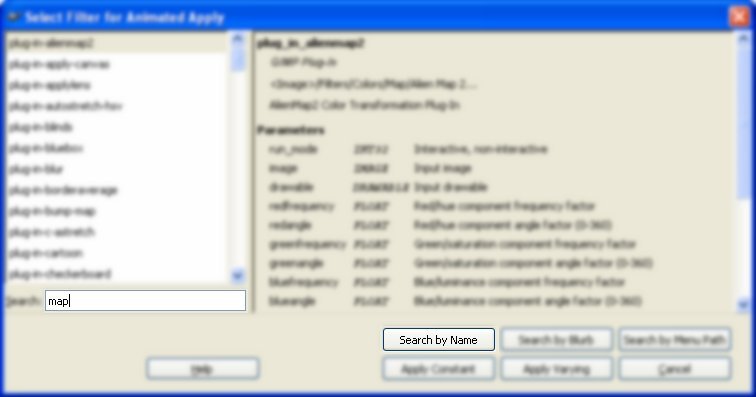
Type in Map in the blank and click on the Search by Name button:

Then, choose the one I've highlighted on the left and click the Apply Varying button:
 Step 6:
We need to do a quick calculation to determine how many pixels the image needs to turn between layers so that GIMP can make it move smoothly. To do this, look at the number of layers in the animation: mine has 49. A circular rotation is 360 degrees. The number of pixels each layer needs to move is 360 / # of layers (or 49 in my case). This equals roughly 7.35 pixels. Keep this number in mind as we'll use it in just a minute.
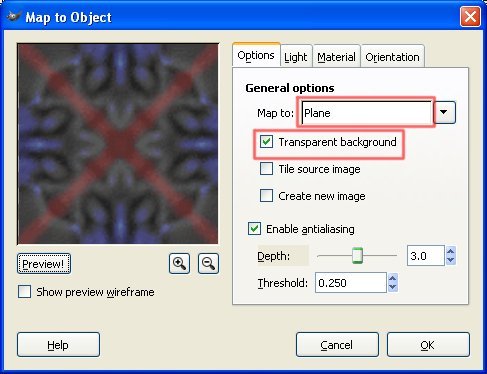
For now, enter the parameters as I've listed below. The reason I use -180 is that the Map Object tool goes from -180 to 180 as its rotation parameters, not 0 to 360.

Hit the OK button to run the filter on the bottom layer.
When this dialog pops up, hit continue:
Step 7:The Map Object window will automatically open again. This time it wants the settings for the final layer in the image. Then, GIMP will automatically calculate the parameters for all the in-between layers. Since the only thing that is changing for the remaining layers is the rotation, we only need to change one tab as shown below:
Remember above when we figured the number of pixels we needed to move in each layer was roughly 7.35? Well, here's where that number comes in to play. To determine the ending layer Y value, take 180 - (minus) the number of pixels needed to move per layer (in my case 7.35). This comes out to be 172.6Click OK.
When this dialog appears, click Continue:
GIMP will begin modifying each layer with the appropriate number of turns along the Y axis.
Step 8:Once, it's finished, test out your animation: Filters Menu > Animation > Playback...
Step 9:You may want to adjust your speed and your layer handling mode for all layers. I suggest that you at least set the layer handling mode to replace as shown below.
Filters Menu > Animation > Settings...
I used 75 ms and replace for my image. Playback and readjust the setting to taste.
 Step 10:
Now, save your animation. File Save or Save as.... and add a gif extension to the end. Select the following parameters in the windows that appear.
Here's the final result!
Well, I hope you learned some new tricks with animations and had a good time. Make sure you show me your results. Experiment with the settings a bit. Try reversing the rotation or rotating it along a different axis.
BTW, these steps have to be modified slightly in order to get it to work with a cube. If you would like, I can post that information later. Or, maybe you'll be able to figure out the adjustments on your own.
Happy GIMPing!
Art