
Hello boys and girls
I am now going to continue my lessons in multi-coloring. In the last tutorial I showed you how to achieve multi - coloring through the use of gradients and clouds.
This time we are going to use Motion Blur to get our Multi ? Color. This is one of my most favorite ways to multi-color.
For this tutorial you need
1: A grey scale background. I created the one I am using with these brushes
NuLLabstract14 ".noconstraint"
2: A Cut-out "render"
In order for the Motion Blur to work well with your sig you need to use a render that has some different colors in it and isn't to dark.
So lets get started!!
1: Open your background and create a new layer name it render.
2: Open your cut-out image and right click on the image layer in the layer dialog. Than click Alpha to Selection or click Layers>Transparency>Alpha to Selection. This should select all of your cut-out.
3:copy the cut-out Edit>Copy or CTRL+C
4: Now paste the Cut-out into (Edit>Paste into) the layer named Render in your your sig file. Place it wherever you want. Once you have it where you want it anchor the the image to the layer.
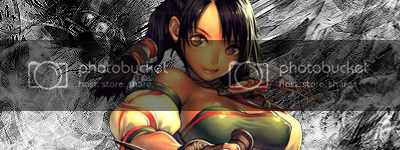
5: Duplicate the render layer. Rename the duplicated layer Motion Blur.
6: Turn the visibility off on the Render layer.
7: Select your Motion Blur Layer (just click on it in the layer dialog) than select
Filter>Blur>Motion BlurSettingsBlur Type: Linear
Length: 150
Angel: 45
[/LIST]8: Repeat Step 7
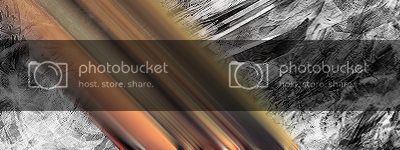
9: Duplicate the Motion Blur layer and move it to a different position on the canvas. Keep Duplicating and moving until the whole sig is filled.
10: Merge all your Motion Blur layers together and rename the Layer to Blur Fill
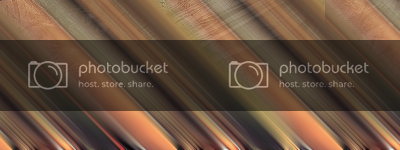
12: Now select your Blur Fill layer and go to Filter>Enhance>Sharpen set the amount to 15
13: Now do a gaussian blur on the blur fill layer amount 15 to 20.
Optional Step: Click Layers>Colors>Curve and set the curve. This will give your color layer a major boost.
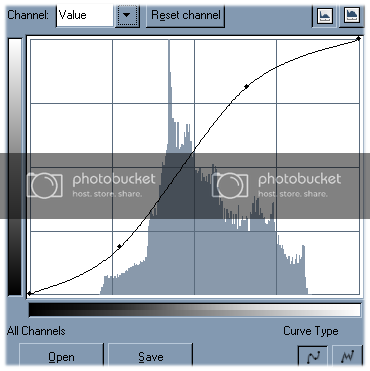
14: Set the layer mode to soft light
15 duplicate the blur fill layer and press Shift+F (or use the flip tool) this will flip the copied Blur Fill layer.
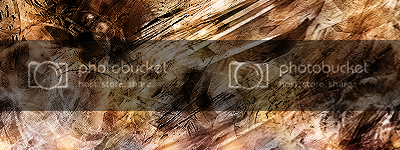
Now we blend in the render
16: Duplicate your Render layer.
17: Move the duplicated render layer to the top of the layer stack
18: Set the mode of the duplicated render layer to soft light
19: Select your original render layer and desaturate it Layers>Colors>Desaturate
Wahla you have blending
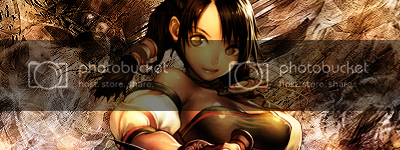
From here you are on your own. If you have any question feel free to post!


